Imagine walking into a room and noticing its balance – each piece of vinyl flooring leads your eyes, making the space look better and bigger. It’s more than just a floor, and about creating an experience for anyone who comes in. The direction in which you lay your vinyl plank flooring can change the feel of the room. It affects the style, the feeling of spaciousness, and how light moves through it.
In essence, before you start with a big change like this, let’s see how laying vinyl planks the optimal way can make a simple walk across the room more like a stroll through a thoughtfully designed area.
Understanding Your Space
Before deciding which direction to lay vinyl plank flooring, analyze your room’s unique characteristics. The space’s shape and dimensions significantly influence the best flooring layout. A long, narrow room may benefit from planks running parallel to the longer walls, creating continuity and flow. In a square or wide room, laying planks perpendicular to the entrance can make the space more inviting and balanced.
Lighting is another crucial factor when choosing your flooring direction. Natural light from windows can highlight the vinyl planks’ texture and grain, making them a focal point. To emphasize a specific feature, like a fireplace or a beautiful view, lay planks in a direction that draws the eye toward it.
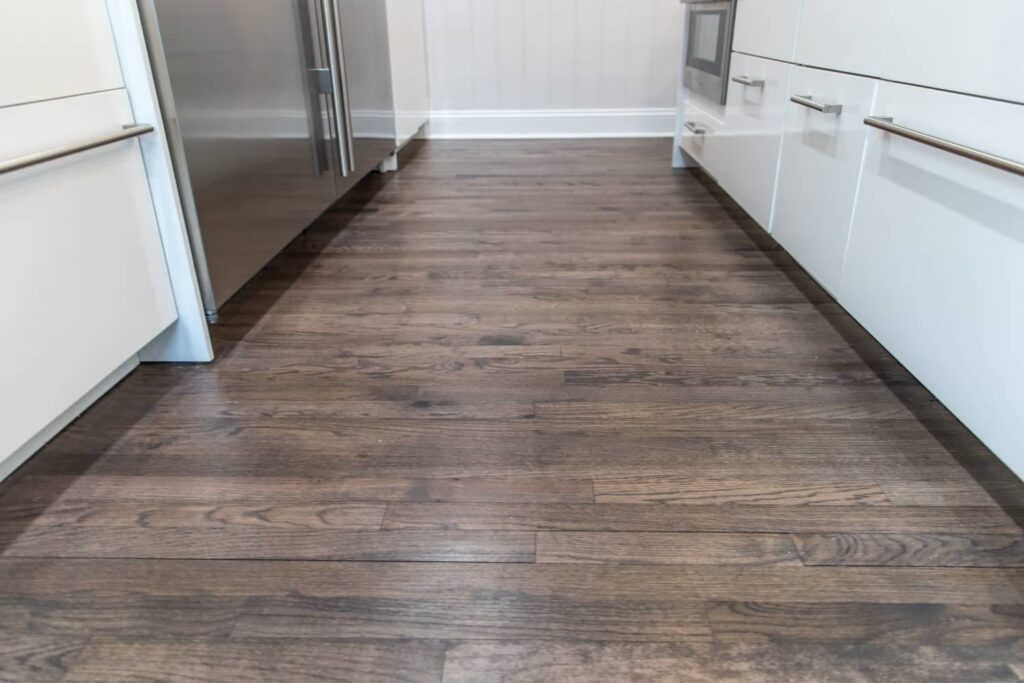
The long, parallel lines of the vinyl flooring draw the eye forward, making this kitchen appear less narrow and more open.
The Aesthetics of Direction
Strategically selecting the orientation of your planks can create illusions that make a room appear larger, smaller, wider, or narrower, depending on your desired effect.
To make a narrow room feel more spacious, consider laying planks parallel to longer walls. This technique draws the eye along the room’s length, creating depth and making the space appear larger. Alternatively, laying planks perpendicular to longer walls in a wide room can make it feel cozier and more intimate.
Your vinyl plank flooring’s direction can also influence your room’s perceived shape. For irregularly shaped spaces, laying planks diagonally softens angles and creates a more harmonious flow. This approach adds a unique design element, making your room stand out from traditionally laid flooring.
When deciding on the direction to lay vinyl plank flooring, consider how light interacts with the surface. In rooms with ample natural light, laying planks perpendicular to the light source minimizes glare and creates even illumination. To emphasize your vinyl planks’ texture and grain, lay them parallel to the light source, highlighting these features and adding depth.

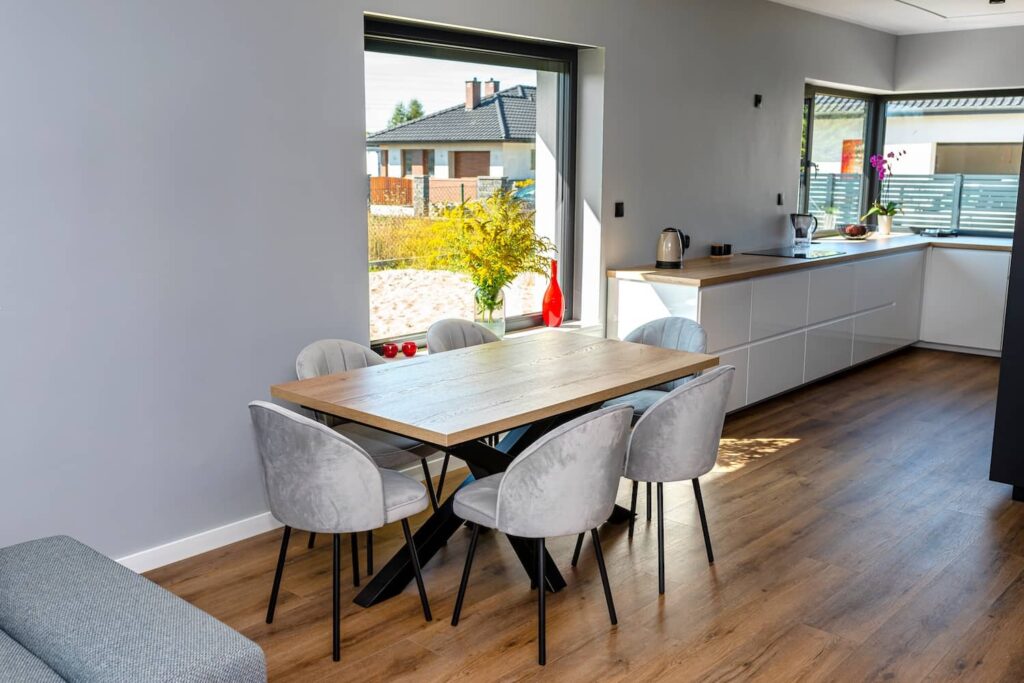
Vinyl planks laid to optimize the room’s sunlight, showcasing the flooring’s texture while providing an additional sense of openness.
Structural Considerations
While aesthetics play a significant role in deciding vinyl plank flooring direction, it’s equally important to consider your space’s structural aspects. Your subfloor type can influence the best installation method and your flooring’s overall durability.
With concrete subfloors, you have more flexibility in choosing your vinyl planks’ direction. However, ensure the surface is level and smooth before installation. Subfloor imperfections can translate to the finished flooring, causing unevenness or gaps between planks.
For homes with wooden subfloors, it’s generally recommended to lay vinyl planks perpendicular to floor joists. This installation method distributes weight evenly across the floor, reducing the risk of sagging or unevenness over time. Laying planks parallel to floor joists may require an additional plywood layer for extra stability and to prevent potential issues.
Another factor to consider is the direction of the room’s longest wall. In most cases, laying vinyl planks parallel to this wall is visually appealing, creating continuity and flow. This approach can also simplify the installation process, requiring fewer cuts and less waste.
When installing vinyl plank flooring in a room with existing flooring, like hardwood or tile, consider the current material’s direction. If possible, lay vinyl planks in the same direction as the existing flooring for a cohesive look and smooth transition between spaces.
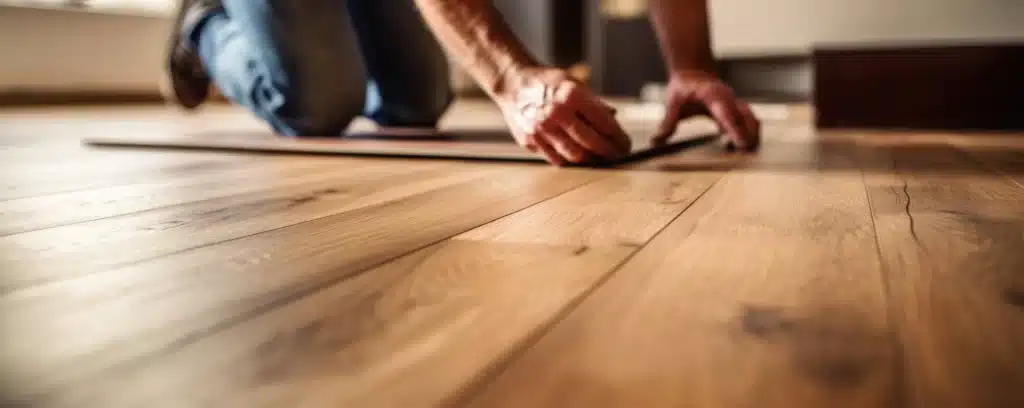
Installation Tips and Tricks
Before you begin, prepare your subfloor by cleaning it thoroughly and repairing any imperfections. A clean, level surface is essential for a smooth installation and will help prevent issues.
When you’re ready to start laying vinyl planks, begin along the room’s longest wall. This approach ensures a straight, even line that will guide the rest of the installation. Use spacers between the first row of planks and the wall to allow for expansion and contraction.
As you work across the room, stagger the seams of your vinyl planks. This technique creates a more natural, visually appealing look and adds strength to the overall flooring structure. Offset the seams by at least 6 inches from one row to the next.
When cutting vinyl planks to fit around obstacles or along room edges, a sharp utility knife is your best friend. Measure carefully and use a straightedge for precise, clean cuts. A jigsaw can be helpful for intricate shapes or curves.
As you near the end of your installation, you may need to rip the final row of planks to fit the remaining space. Measure the distance between the last full plank and the wall, subtract the expansion gap, and cut the planks to size using a utility knife and straightedge.
Once you’ve installed all your vinyl planks, allow the flooring to acclimate to the room’s conditions before walking on it or placing furniture. This process typically takes around 24 hours, but consult the manufacturer’s guidelines for specific recommendations.
Visual Harmony with Existing Floors
Creating visual harmony between your vinyl planks and the adjacent flooring can make a significant impact on the overall flow. One approach to achieving visual harmony is to match the direction of your vinyl planks with the existing flooring.
For example, if your adjoining room has hardwood floors running parallel to the doorway, consider laying your vinyl planks in the same direction. This consistency in direction can create a seamless transition between the spaces, making your home feel more connected and intentional.
If matching the direction of the existing flooring isn’t possible or desirable, you can still create visual harmony! Try choosing a complementary layout. For instance, if your adjacent room has tile or hardwood laid diagonally, you might opt for a perpendicular layout with your vinyl planks. This approach can create an interesting contrast while still maintaining a sense of balance and unity.
Also, consider the color and pattern of the existing flooring. If your adjacent room features a bold, patterned tile or a rich, dark hardwood, you may want to choose a more neutral vinyl plank color and layout. This combination can help prevent the spaces from competing with one another.
In some cases, you may want to create a clear distinction between your vinyl plank flooring and the existing flooring. This approach can be particularly effective if you’re aiming to define separate functional areas within an open-concept space. To achieve this, consider laying your vinyl planks in a contrasting direction or opting for a different color or pattern.
This vinyl plank direction complements the adjoining space – example of consistent flooring orientation enhanceing the flow between rooms.
Other Recommended Maintenance
One of the most important things you can do is to clean your vinyl plank flooring regularly. Sweep or vacuum the surface to remove dirt, dust, and debris that can scratch or dull the finish over time.
When mopping, use a damp mop or cloth and avoid excessive water, as this can seep into the seams and cause damage. For best results, use a cleaning solution specifically designed for vinyl flooring, following the manufacturer’s instructions.
To prevent scratches and indentations, place felt pads under the feet of your furniture, especially heavy items like couches, tables, and chairs. When moving furniture, always lift instead of dragging to avoid scuffing the surface of your vinyl planks. In high-traffic areas or entryways, consider placing mats or rugs to catch dirt and debris before it can be tracked onto your flooring.
Protecting your vinyl plank flooring from direct sunlight is another crucial aspect of maintenance. Prolonged exposure to UV rays can cause fading and discoloration over time. To minimize this risk, use window coverings like blinds, shades, or curtains to filter the sunlight and protect your flooring.
When to Call a Professional
- Subfloor problems – If you discover significant issues with your subfloor. Excessive moisture, unevenness, or structural damage should be addressed before proceeding.
- Complex room layouts – If your room has an unusual shape, multiple angles, or intricate features, choosing the direction to lay vinyl plank flooring can be challenging. A professional installer has the experience and expertise to navigate these complexities and ensure a seamless, polished result.
- Large-scale projects – If you’re planning to install vinyl plank flooring throughout a large area or multiple rooms, the project can quickly become overwhelming. A professional team can handle the installation more efficiently, saving you time and ensuring a consistent, high-quality outcome.
- Damage or defects – If you notice any damage or defects in your vinyl plank flooring after installation, such as gaps, lifting, or separation between the planks, it’s important to address these issues promptly. A professional can diagnose the problem and recommend the appropriate repair or replacement solution.
- Water damage – In the event of a leak, flood, or other water-related incident, it’s crucial to act quickly to minimize damage to your vinyl plank flooring. A professional can assess the extent of the damage, perform any necessary repairs or replacements, and advise you on steps to prevent future issues.
Conclusion
The direction you choose to lay your vinyl plank flooring is a pivotal decision. It can aid or hinder you in creating the perfect ambiance for your space. Take the time to analyze your room’s distinctive features, and you’ll be rewarded with a floor that not only looks incredible but also elevates the overall feel of your home.
With a little forethought and TLC, your vinyl plank flooring will be the star of the show, making every step feel like a stroll through a masterpiece. If you hit any roadblocks along the way, don’t be afraid to call in the pros for a helping hand. The experts at Fox Mountain Property Inspections are here to help in Maryland, Pennsylvania, Virginia, and West Virginia.